
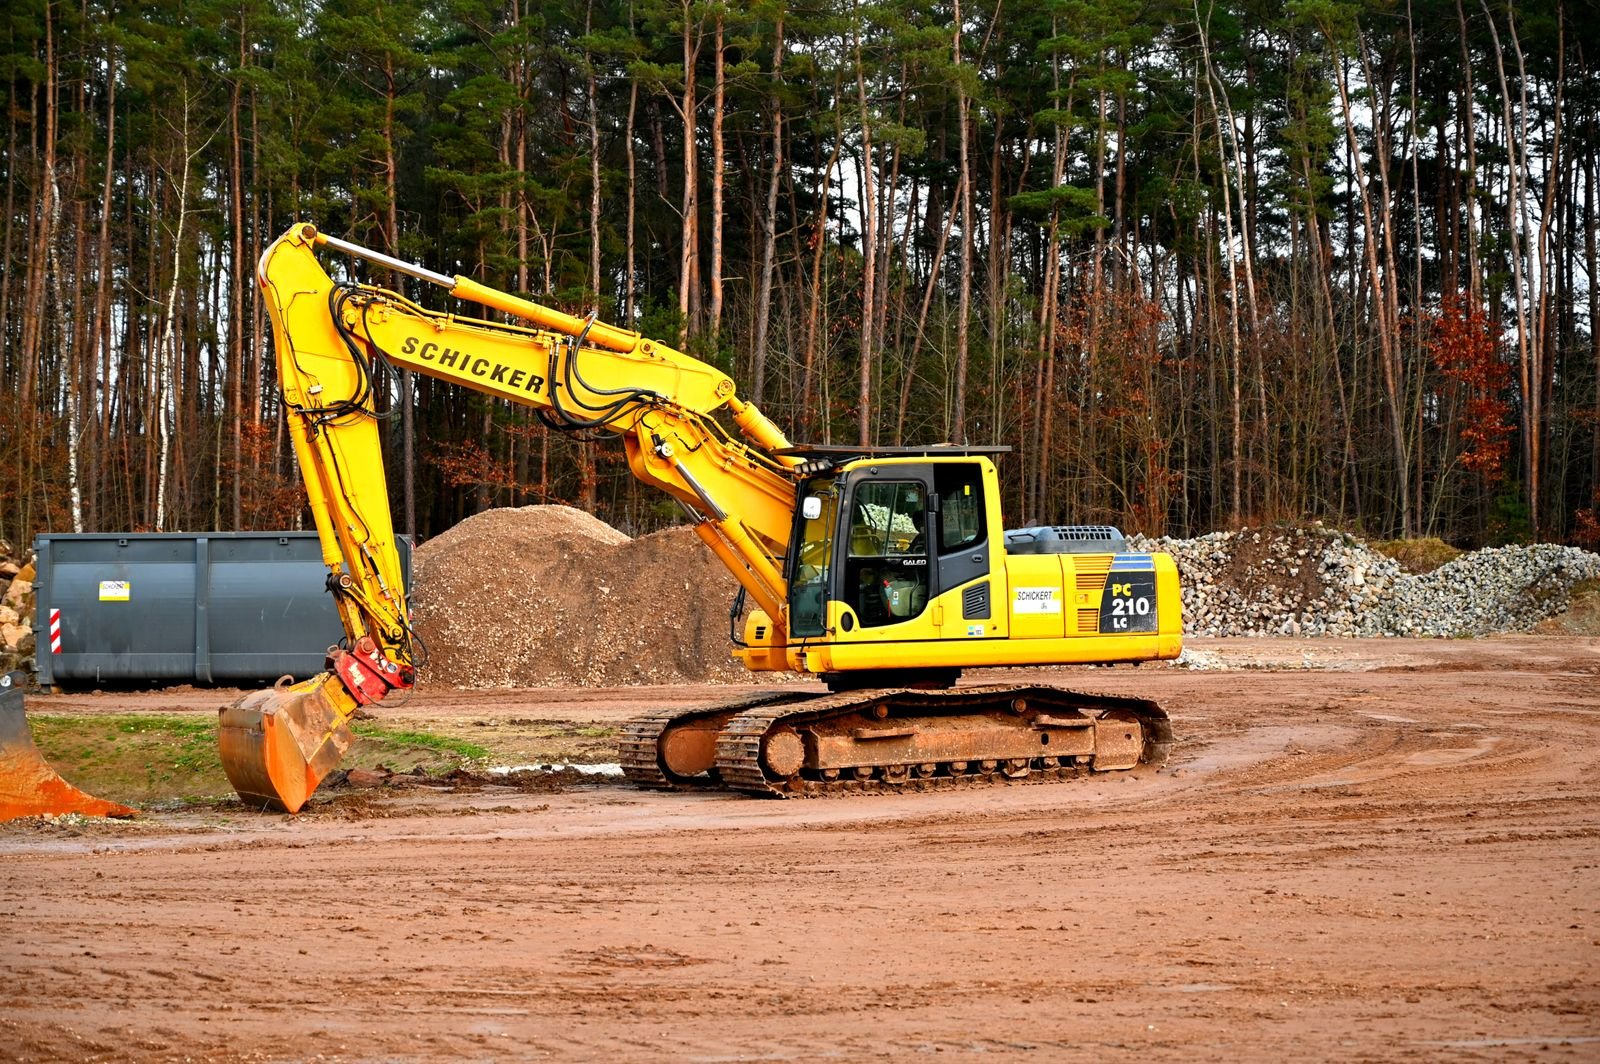
To excavate a construction site safely, you plan the job, secure permits, have all underground utilities located and marked, survey and stake the dig, clear and strip the topsoil, excavate to the design depth in controlled stages, support or slope the sides, manage water and spoil, and inspect the work before building. The order matters: the most expensive and dangerous mistakes, such as striking a gas line or a trench collapse, almost always come from skipping the early steps.
This guide walks through the process from first survey to final grade. It is general information for homeowners, builders and site managers, not engineering advice. Rules differ by country, state and local authority, so confirm permit, utility and safety requirements with the relevant bodies and use qualified professionals for deep or complex digs.
Step 1: Plan the Excavation
Good excavation begins on paper. Before any machine arrives, define exactly what you are building and what the ground must do. A construction firm’s overview of the process lists the stages as pre-excavation planning and permits, site preparation, the excavation itself, foundation and support systems, and post-excavation review. Your plan should settle:
- Dig dimensions and depth. Take them from the drawings, adding working space for formwork or waterproofing.
- Soil type and groundwater. A soil investigation tells you whether the ground is firm clay, loose sand or soft fill, and where water sits.
- Access and storage. Decide where machines enter, where spoil goes and where materials will be kept.
- Neighbouring structures. Fences, walls, roads and buildings may need protection or underpinning.
- Programme and weather. Excavating in dry weather avoids mud, collapsed sides and flooded pits.
A professional surveyor can mark the exact boundaries of the excavation, which helps prevent disputes and ensures accuracy.
Step 2: Permits and Approvals
Many jurisdictions require permission before you dig, particularly for deep excavations, work near roads or protected trees, or changes to drainage. Typical approvals include a building or grading permit, a site plan, traffic or road-opening permission and environmental controls for dust, runoff and noise. Rules vary widely, so ask your local authority which apply to your project. Starting without a permit can lead to stop-work orders and fines.
Step 3: Locate Underground Utilities
Hitting a buried cable or pipe can injure workers, cut services to neighbours and cost a fortune. Always locate utilities before digging:
- Request a locate. In the United States, call or submit a request through 811. In the UK, use the free utility-search services that provide plans of buried assets. Other countries have similar systems.
- Pre-mark your dig area. One equipment-industry guide advises pre-marking the dig site with white paint, flags or stakes so locators can see the exact limits.
- Wait for all utilities to respond. The same guide advises that you receive a complete locate package for all utilities within your project site before starting.
- Read the marks and documents. Learn the colour codes and note depths, remembering that marks can be inaccurate.
- Stay within the requested area. If the project boundary changes, submit a new request, and note that marks are typically valid for a limited period, often about a month.
- Pothole to verify. Use hand digging or vacuum excavation to expose lines near the planned dig.
Workplace safety rules, including OSHA’s excavation standard in the US, require employers to determine the location of underground installations by safe and acceptable means when digging near them. Hand digging near marked utilities is the usual safe method.
Step 4: Survey, Stake and Prepare the Site
- Set out the building lines. Use stakes, string lines or laser levels to mark corners and depths.
- Establish a datum. Fix a benchmark so every depth is measured from the same point.
- Install erosion and sediment controls. Silt fences and stabilised entrances reduce runoff and mud on roads.
- Fence off the area. Keep the public and children away from open pits.
- Clear vegetation and debris. Remove trees, stumps and rubbish, following any tree protection rules.
- Strip and store topsoil. Keep it separate from subsoil so it can be reused for landscaping.
Step 5: Excavate in Controlled Stages
With the site prepared, the machine work begins. Use equipment sized for the job, such as a mini excavator for house extensions and a larger tracked excavator for basements and commercial sites.
- Dig in layers. Excavate in passes of about a metre or less, checking depth and level frequently.
- Keep spoil away from the edge. Heavy piles and parked machines near the pit can overload the sides.
- Control the shape. Cut slopes or vertical faces as designed, and avoid over-digging, which wastes backfill and weakens support.
- Remove soft spots. If the base is soft or contaminated, replace it with compacted fill as directed by the engineer.
- Trim by hand near utilities and footings. Machines are for bulk removal, not final trimming.
- Check regularly. Measure depth, width and levels against the drawings.
Step 6: Support the Sides With Shoring or Sloping
Unsupported soil can collapse suddenly, and trench collapses are a leading cause of fatalities in construction. A state workplace safety page advises that you always shore or cut back the opening adequately and use a soil analysis to determine the type of shoring or the angle of repose required.
| Method | How it works | Best for |
|---|---|---|
| Sloping or benching | Cut the sides back to a safe angle or in steps | Open sites with room to spare |
| Timber shoring | Wooden planks and struts support the walls | Small trenches and short jobs |
| Steel shoring | Steel plates and beams give stronger support | Deeper or wetter ground |
| Hydraulic shoring | Hydraulic jacks hold the walls apart | Fast installation in trenches |
| Trench box or shield | A rigid box protects workers inside while pipes are laid | Utility and pipeline work |
In the US, OSHA’s excavation rules generally require a protective system for trenches that are five feet deep or more unless the ground is stable rock, and a competent person must inspect the excavation daily. Regulations differ elsewhere, so follow the standards that apply where you work. Deep or unusual excavations should have a design by a registered engineer.
Step 7: Control Water, Spoil and Traffic
- Groundwater and rain. Use sumps, pumps or diversion ditches to keep the pit dry. Never let workers enter a flooded pit.
- Spoil management. Reuse suitable soil on site, and haul away the rest. Contaminated soil needs special disposal.
- Access and egress. Provide ladders, stairs or ramps so workers can exit quickly, typically within a set distance of anyone in a trench.
- Atmosphere checks. Test for dangerous gases in deeper pits or near contaminated ground.
- Vibration and traffic. Keep heavy vehicles back from the edge and monitor nearby structures.
Site safety culture matters as much as hardware, and organisations of all kinds are investing in training. Our article on emergency response education across industries explains why trained, prepared crews respond better when something goes wrong.
Step 8: Inspect, Document and Hand Over
- Inspect the formation level. A building inspector or engineer may need to approve the base before concrete is placed.
- Check dimensions and levels. Confirm everything matches the drawings.
- Record the work. Take dated photos, keep inspection records and note any unexpected conditions, such as old foundations or services.
- Protect the pit. Cover or fence the excavation and keep it drained until work starts.
- Plan backfill. Use suitable fill in compacted layers, and remove temporary supports as the backfill rises, following your engineer’s instructions.
Common Mistakes and Cost Factors
- Skipping the utility locate or trusting a single mark without verification.
- Digging deeper than designed, which adds fill, labour and risk.
- Ignoring soil conditions and groundwater until the pit floods.
- Piling spoil or parking machines too close to the edge.
- Letting workers enter unsupported trenches.
- Underestimating haulage and disposal costs, which can exceed the digging cost.
Excavation cost depends on volume, soil type, access, disposal distance, machine hire, labour and any shoring or dewatering. Get itemised quotes and ask what happens if rock, water or contamination is found.
Frequently Asked Questions
How do you start excavating a construction site?
Start with planning, a soil investigation, permits and a utility locate. Only after utilities are marked should you set out the site and begin digging.
Do I need a permit to excavate?
Often yes, particularly for deep digs or work near roads and drainage. Ask your local authority, because requirements vary.
How deep can you dig without shoring?
It depends on the soil and local safety rules. In the US, protective systems are generally required from five feet unless the ground is stable rock, and many sites use them even earlier. Check local rules and get engineering advice.
How do I find buried utilities?
Use your national or local locate service (811 in the US), pre-mark the dig area, wait for all utilities to respond, then hand dig or pothole near the lines.
How long does excavation take?
A small house foundation may take a few days, while a basement or large commercial excavation can take weeks. Weather, soil and access all affect the timeline.
Can I excavate my own site?
Small, shallow jobs may be suitable for experienced DIYers, but deep trenches, structural digs and anything near utilities should be done by qualified contractors.
Conclusion
A safe excavation is the product of preparation: planning, permits, utility location, soil knowledge, support and inspection. Follow the stages in order, keep workers out of unsupported trenches, and bring in professionals for anything deep or complex. Confirm local rules before you break ground.

Lois Snyder is a versatile writer with experience across multiple domains. She crafts engaging and informative content, delivering valuable insights and captivating readers with her expertise and passion for diverse topics.